Tiny house living isn’t just a trend, it’s a practical solution for homeowners seeking affordable, sustainable housing without sacrificing comfort or style. Whether you’re designing a 300-square-foot primary home, an accessory dwelling unit (ADU), or a guest cottage, maximizing every square inch demands smart planning. This guide walks you through proven design principles, DIY-friendly storage solutions, and layout strategies that transform cramped spaces into functional, livable homes. You don’t need a designer’s budget, just thoughtful decisions about furniture, light, color, and vertical space. Let’s dig into how to make small spaces feel larger and work harder.
Table of Contents
ToggleKey Takeaways
- Small tiny house design succeeds when every inch serves a purpose—use the 60/30/10 rule to dedicate 60% to living/sleeping zones, 30% to storage, and 10% to visual breathing room.
- Multi-functional furniture like murphy beds, kitchen islands with built-in storage, and wall-mounted folding desks maximize limited square footage without overwhelming the space.
- Optimize lighting with multiple sources (ceiling fixtures, task lamps, wall sconces) and light, neutral wall colors to reflect light and make rooms feel larger and less claustrophobic.
- Claim vertical space with tall shelving, floating shelves, and ceiling-mounted storage to free up floor area and draw eyes upward, making tiny homes feel more open.
- Define zones in open floor plans using area rugs, flooring transitions, and subtle separators rather than walls to maintain sightlines and fluid movement.
- Start with DIY projects like rolling kitchen carts, folding wall-mounted desks, or under-stair storage to add function without requiring a designer’s budget.
Understanding Tiny House Design Principles
Tiny house design starts with one core principle: every inch must earn its keep. Unlike traditional homes where a hallway is just a hallway, in a tiny house, hallways should connect zones, display shelving, or serve dual purposes. The first step is understanding load-bearing walls versus non-load-bearing partitions. Load-bearing walls support the structure and can’t be removed without a post or beam: non-load-bearing walls are candidates for removal to open up space (though permits are often required).
Before swinging a sledgehammer, get a structural engineer’s sign-off if you’re removing any walls. Most jurisdictions require permits for interior demolition, and skipping this step can mean costly fixes or insurance headaches down the line. A tight floor plan means every square foot counts: aim for minimal hallway space, open sightlines, and zones defined by furniture and flooring changes rather than walls.
Another key principle is the 60/30/10 rule adapted for tiny spaces: dedicate 60% of your layout to living/sleeping zones, 30% to storage and circulation, and 10% to visual breathing room (blank walls, negative space). This prevents the “too full” feeling that makes small homes feel claustrophobic.
Multi-Functional Furniture and Storage Solutions
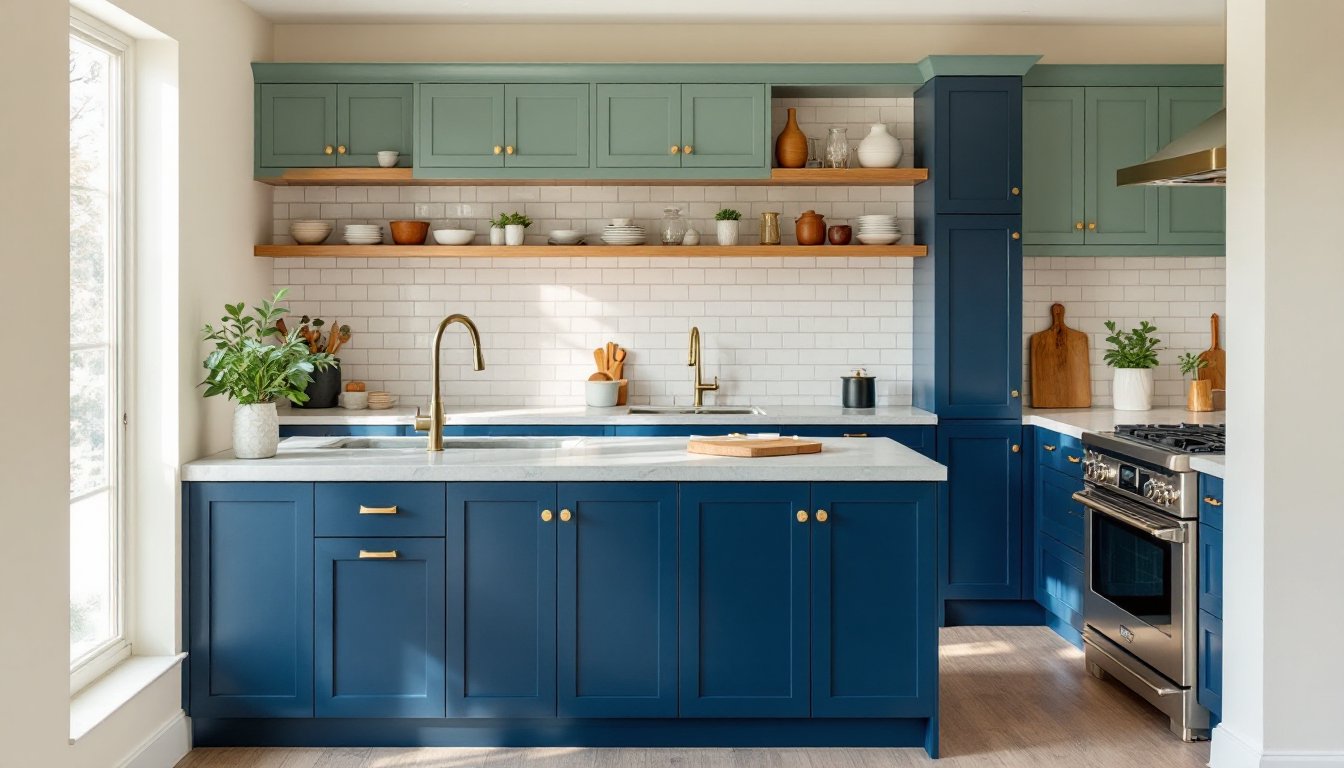
Multi-functional furniture is the MVP of tiny house design. A murphy bed that folds into a wall can transform a bedroom into a living room by day. A kitchen island with built-in seating, lower shelves for pantry storage, and a butcher-block top pulls triple duty: cooking surface, dining, and storage.
When selecting pieces, measure twice and commit once. Standard sofa depths run 32–36 inches: in a tiny space, a 28-inch depth settee with a tall back creates visual interest without eating floor space. Furniture legs (not skirts that touch the floor) also make rooms feel larger by letting you see underneath.
Built-in storage, shelves, cabinets, window seats with drawers, maximizes square footage that loose furniture can’t claim. Open shelving works for tiny homes if you embrace a minimal aesthetic and edit ruthlessly. Closed cabinetry, like floating cabinets mounted above a desk or filing station, hides clutter without bulky furniture legs. Install tall shelving units that climb to the ceiling: you’ll free up floor area and draw the eye upward, making rooms feel taller. Under-bed storage bins, wall-mounted desks that fold up when not in use, and corner carousels transform unused nooks into functional storage.
Open Floor Plans and Visual Expansion
Open floor plans are standard in tiny homes because they eliminate walls and create the illusion of more space. An open kitchen flowing into the dining and living area prevents that “boxed in” feeling. But, open doesn’t mean chaos, define zones with area rugs, flooring transitions, or a low-profile peninsula that separates the kitchen from living areas without blocking sightlines.
When you can’t remove walls (due to structure, cost, or code), borrow space visually. Large mirrors reflect light and create depth: place one opposite a window to amplify natural light. A focal point, a feature wall, a statement piece of art, or a tall plant, pulls the eye in a direction and makes the room feel intentional rather than cramped.
Clear sightlines matter immensely. Avoid stacking furniture against every wall: cluster pieces to create conversation areas, and leave one wall mostly bare. If your kitchen opens to the living room, consider a subtle transition like a small change in flooring (tile to wood, or a thin runner rug) rather than a visual barrier. The goal is fluid movement and the feeling that one room melts into the next. Resources like Apartment Therapy showcase how creative layouts and minimal clutter maximize perceived space in small homes.
Smart Lighting and Color Strategies
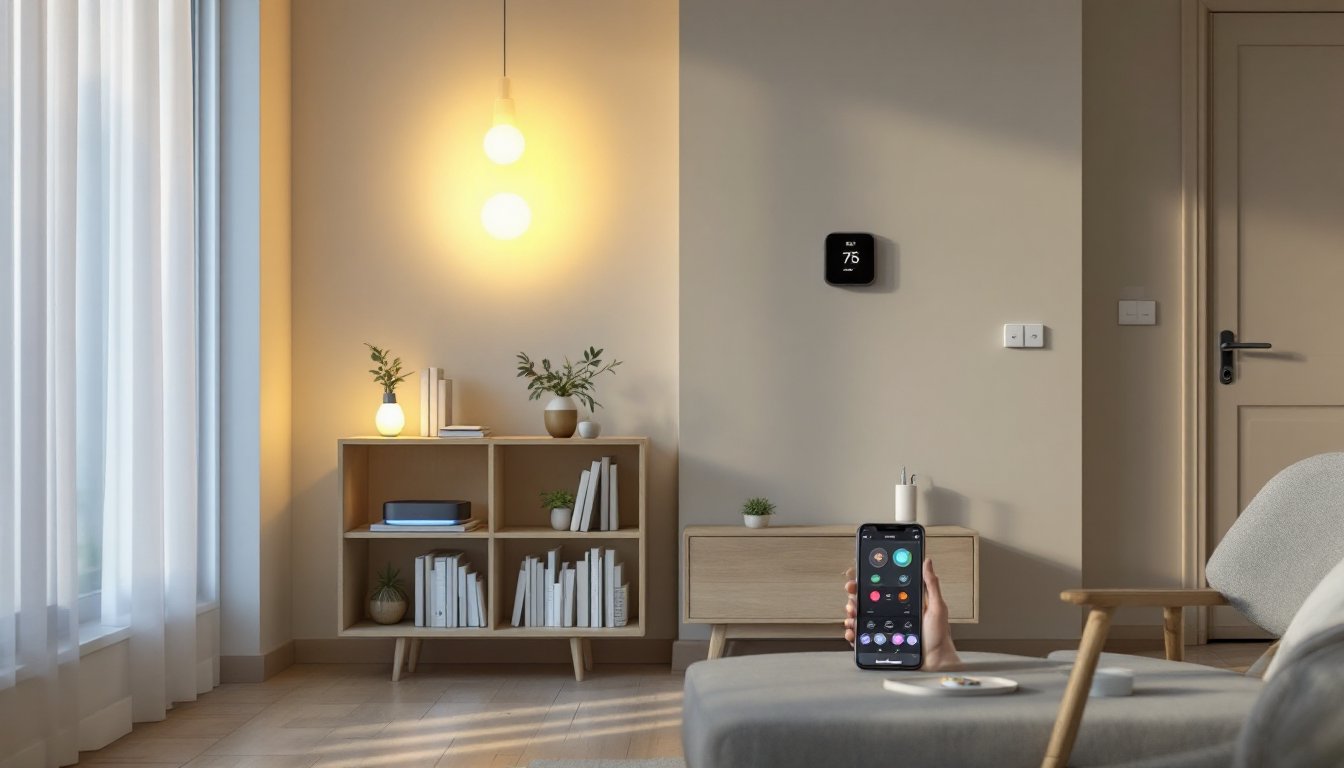
Lighting can make or break a tiny space. Poor lighting makes small rooms feel darker and more claustrophobic: good lighting (natural and artificial) opens them up. Maximize natural light by keeping windows uncovered or using sheer curtains that filter light without blocking it. Install multiple light sources, ceiling fixtures, track lighting, task lamps, and wall sconces, so you can adjust brightness and mood without relying on one harsh overhead light.
Recessed lighting or track systems work well in low ceilings because they don’t hang down and eat headroom. Warm white bulbs (2700K color temperature) create a cozy feel: cool white (3000K-4000K) energizes kitchens and work areas. In a tiny home, avoid dark corners, a small corner lamp or under-shelf LED strip keeps sightlines clear and prevents the room from shrinking visually.
Color strategy matters just as much. Light, neutral wall colors (soft whites, pale grays, warm beiges) reflect light and expand the visual footprint. You can add personality through accent colors on one wall, textiles, art, or the kitchen backsplash without overwhelming a small footprint. Avoid heavily patterned wallpaper unless it’s one accent wall: patterns compress space visually. Modern design trends favor sustainable home design approaches that use natural materials and soft palettes, which inherently feel calming in compact layouts.
Vertical Space Utilization Techniques
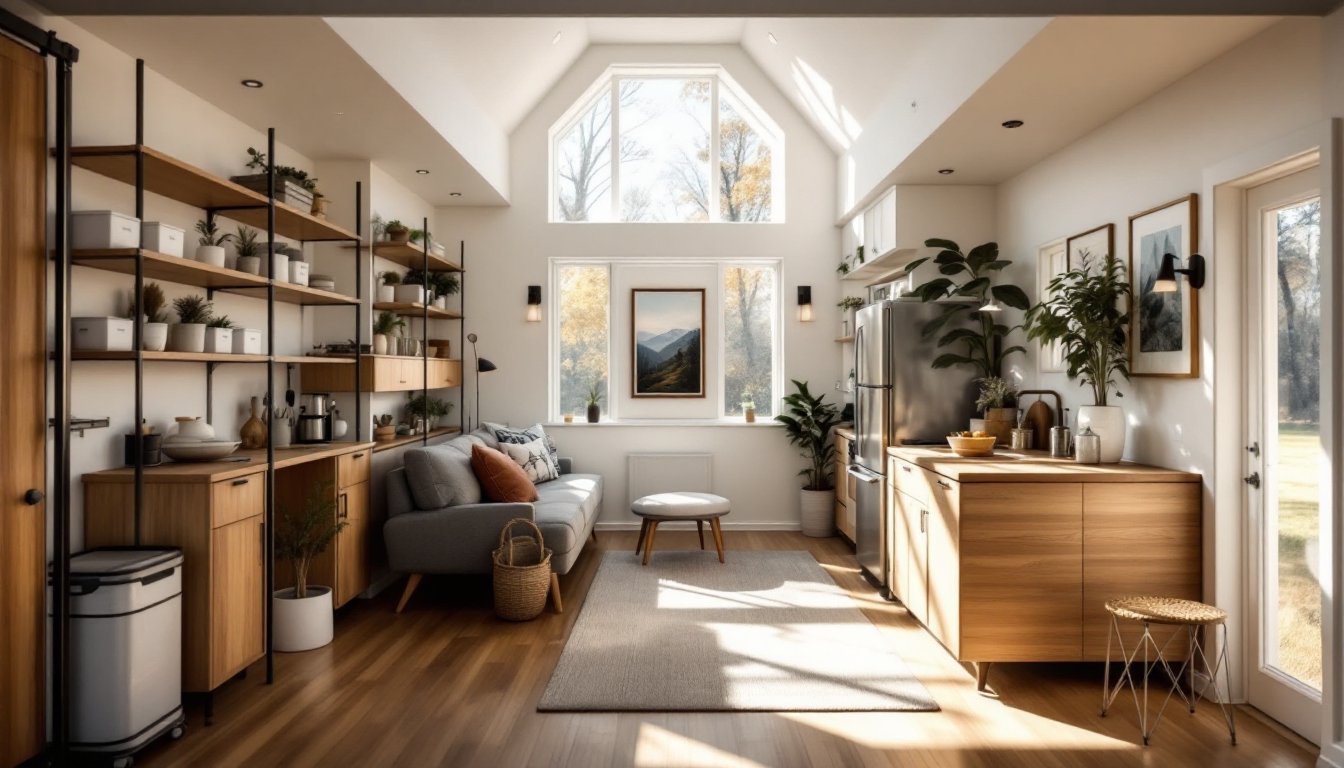
In a tiny house, walls are real estate. Tall shelving, stacked cabinetry, and floor-to-ceiling storage claim unused vertical space and take pressure off the floor footprint. Floating shelves above desks, kitchen walls, or bedroom headboards cost less than freestanding shelving and don’t break sightlines the same way.
Here’s a DIY approach: Install floating shelves with heavy-duty brackets rated for your load (typically 25–50 pounds per shelf). Find studs using a stud finder (about $20–40), drill pilot holes, and use 1/2-inch lag screws or heavy-duty wall anchors for drywall. Shelves should sit at least 32 inches apart vertically to comfortably access items below.
Vertical gardens, hanging rope shelves for towels or linens, wall-mounted pegboards for kitchen tools, and hanging file organizers maximize dead space. Hooks on the inside of cabinet doors hold utensils, spices, or cleaning supplies. Corner spaces often go unused, a tall, narrow shelving unit or a tension rod with hanging baskets reclaims that awkward real estate.
Ceiling-mounted pot racks, hanging planters, and loft beds with storage underneath all push furniture upward and free valuable floor space. The key is intentionality: every vertical element should serve a purpose, not create visual clutter.
Practical DIY Projects for Tiny Homes
Here are three high-impact, homeowner-friendly projects:
1. Build a Rolling Kitchen Cart
A rolling island adds prep space without permanent footprint. Construct a simple 2×4 frame (studs spaced 16 inches on center), attach a 3/4-inch plywood top, and mount locking casters underneath. Attach 1×10 boards as shelves for storage. Sand, finish with polyurethane, and paint. Budget: $100–150: Time: 1–2 days. Make sure casters are rated for the load (typically 200–300 pounds per wheel).
2. Install a Wall-Mounted Folding Desk
A fold-down desk claims just inches of wall space. Purchase a folding desk bracket system or build one from hardwood with piano hinges. Mount a 36×18-inch desktop to wall studs using 1/2-inch lag bolts, and secure the folding support leg. Finish to match trim. Budget: $75–150: Time: 3–4 hours. This works over a radiator or awkward nook.
3. Create Under-Stair Storage
If your tiny house has stairs, that void beneath is wasted space. Build frame-and-door boxes that match stair dimensions. Use 3/4-inch plywood for the frame, 1×6 boards for the backing, and either butt hinges (for swing-out doors) or drawer slides (for roll-out bins). Finish to match stair trim. Budget: $150–300: Time: 2–3 days.
All three projects require basic tools: a drill-driver, miter saw (or circular saw), level, tape measure, and standard hand tools. Real Simple has excellent guides on decluttering before tackling storage projects, a worthwhile read before you build anything.
Conclusion
Small tiny house design is about intentional choices, not sacrifice. By understanding load-bearing structure, embracing multi-functional furniture, optimizing light and color, and claiming vertical space, you transform cramped footage into a livable, stylish home. Start with one or two DIY projects, a folding desk, floating shelves, or a rolling cart, and build from there. The goal isn’t perfection: it’s creating a space that works hard and feels good to live in.