Zigbee smart home technology is quietly becoming the backbone of reliable home automation, and for good reason. Unlike Wi-Fi systems that demand bandwidth and drain batteries, Zigbee operates on a low-power mesh network that keeps your devices talking to each other efficiently. Whether you’re automating lights, locks, or thermostats, understanding Zigbee is the first step toward building a system that actually works when you need it, without constant troubleshooting or expensive professional installation. This guide walks you through the fundamentals, helping you sidestep common mistakes and make smart decisions about what to buy and how to set it up.
Table of Contents
ToggleKey Takeaways
- Zigbee smart home systems use low-power mesh networking that eliminates dead zones, keeps devices connected through repeaters, and extends battery life to 2–3 years compared to weeks for Wi-Fi alternatives.
- Entry-level Zigbee devices like bulbs ($10–$25) and sensors ($10–$25) cost significantly less than Wi-Fi equivalents, making home automation affordable and accessible for beginners.
- A Zigbee smart home network requires choosing a Zigbee 3.0 compatible hub (like Hubitat or Home Assistant), placing it centrally, and pairing devices one at a time while checking manufacturer compatibility before purchase.
- Zigbee devices provide enhanced security since they don’t connect directly to the internet—they communicate through a secure hub—reducing attack vectors and eliminating the need for individual device logins.
- Start with practical devices like smart locks, thermostats, and sensors for entry points and high-traffic areas to establish automation foundations before expanding your Zigbee ecosystem.
- Zigbee’s open-source standard allows devices from different manufacturers (Philips Hue, IKEA Trådfri, Enbrighten) to work together on one hub, offering flexibility that proprietary systems cannot match.
What Is Zigbee and Why It Matters for Your Home
Zigbee is a wireless communication standard designed specifically for smart home devices. It operates on the 2.4 GHz frequency, the same band as Wi-Fi and Bluetooth, but uses a completely different approach to networking. Instead of each device connecting directly to your router (like Wi-Fi), Zigbee devices form a mesh network, meaning each device acts as a repeater, passing signals through neighboring devices to reach the hub. This topology solves a fundamental problem: dead zones and dropout.
Why does this matter? Because your lights don’t stop working when your router hiccups. A Zigbee sensor in the bedroom can communicate through a light switch in the hallway to reach the hub in the living room, even if the direct path is blocked. Zigbee also consumes far less power than Wi-Fi, a single battery can power a sensor for 2–3 years, compared to weeks for Wi-Fi equivalents. The protocol is open-source and royalty-free, which means manufacturers compete on innovation rather than licensing fees. In practical terms, you get more affordable devices with longer battery life and better reliability.
Compare this to Wi-Fi smart devices, which are convenient but often unreliable over distance, drain batteries quickly, and clog your network bandwidth. Or Z-Wave, Zigbee’s closest competitor, which operates on a different frequency (908.42 MHz in North America) and has smaller device ecosystems. Zigbee’s massive device library and ecosystem give homeowners real choice.
Key Benefits of Zigbee Smart Home Systems
The real-world advantages of Zigbee stack up quickly once you install a system. Low power consumption is first. Battery-powered Zigbee sensors last years, not months. You’re not constantly replacing CR2032 buttons or hunting for the charging cable to your door sensor. Second is reliability and range. That mesh network means a Zigbee device 50 feet away with two obstacles between you and your hub still works flawlessly. No Wi-Fi dropout drama at 2 a.m. when you forgot to lock the garage.
Third: cost efficiency. Zigbee devices are cheap, entry-level smart bulbs run $10–$25, compared to $30–$50 for comparable Wi-Fi bulbs. That keeps the barrier to entry low and lets you experiment without burning cash. Fourth is interoperability. Because Zigbee is an open standard, devices from dozens of manufacturers work together on one hub. You can mix Philips Hue lights with Enbrighten outlets and IKEA Trådfri remotes, all on the same network. Try that with a proprietary system.
Finally, security through simplicity. Zigbee devices don’t connect to the internet directly, they talk to your hub, which handles the internet bridge. That’s fewer attack vectors. You’re not setting up a unique login and password for every bulb or praying the manufacturer patches a firmware vulnerability in your forgotten motion sensor. When your hub is secure, your entire network is secure.
Getting Started: Essential Zigbee Devices for Beginners
Building your first Zigbee system means picking the right starter devices. You’ll need a Zigbee hub, the central coordinator that manages all your devices. Popular options include Hubitat Elevation, Home Assistant with a compatible Zigbee USB stick, and manufacturer-specific hubs like the Philips Hue Bridge. The hub sits on your Wi-Fi network and communicates with Zigbee devices via the mesh. Once you’ve chosen a hub, add devices gradually. Don’t buy 20 smart bulbs at once: start with 3–4 and understand the learning curve.
For most homeowners, the first devices should address real problems: lighting convenience, security, and comfort. A programmable thermostat reduces heating and cooling costs without daily adjustment. Smart locks let you check door status remotely and avoid fumbling for keys. Motion sensors catch intruders and trigger automation (lights on when you walk in). Smart bulbs offer mood lighting and scheduling. Start here, prove the system works, then expand.
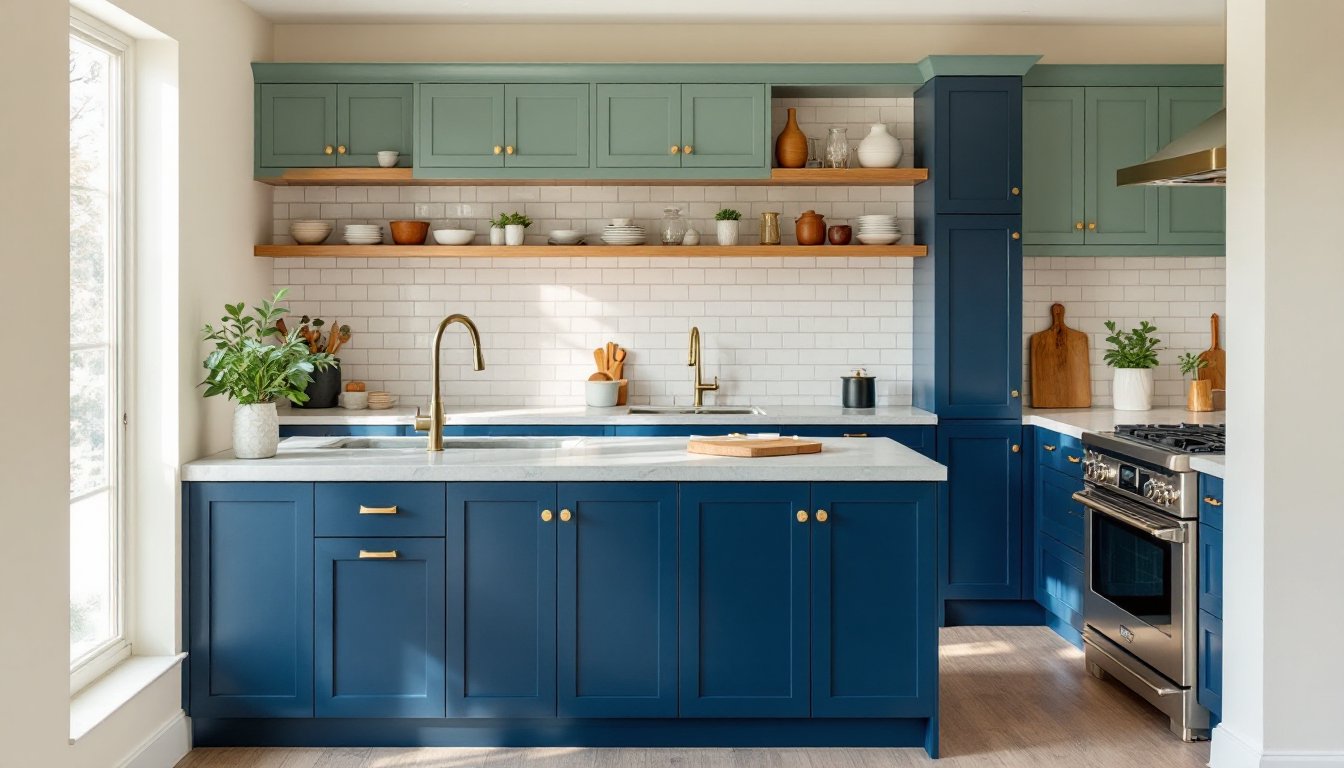
Smart Lighting and Switches
Smart bulbs are the gateway drug to home automation. A Zigbee-enabled LED bulb (rated for 16 million colors or white-tunable) screws into any standard fixture and integrates with your hub. Hue, Gledopto, and innr all make solid Zigbee options in the $15–$35 range. You control color, brightness, and scheduling from a phone app or voice assistant. Smart switches (wall-mounted controls) offer a different approach: they replace your existing switch and work with any bulb, saving you from buying smart bulbs for every fixture. A Zigbee switch runs $30–$60, but it controls all bulbs on that circuit, not just one. Both have merit. Smart bulbs offer more control: switches are faster to install if you’re not replacing fixtures.
Pick bulbs if you want zone control (different colors in different rooms) or rented housing (easily removed). Pick switches if you have multiple fixtures on one circuit or want the simplest installation. Either way, Zigbee lighting is reliable and battery-less since it’s powered through your wiring.
Locks, Thermostats, and Sensors
A Zigbee smart lock on your front door lets you unlock remotely, check lock status, and grant temporary access to guests without cutting a new key. Level Lock and U-Bolt are reliable, affordable options ($150–$250 installed). Installation requires removing your interior lock assembly, a 20-minute job with a screwdriver, or hire a locksmith if you’re uncomfortable. Codes and fingerprint locks offer convenience: always back up mechanical keys as a failsafe.
A Zigbee thermostat like the Sinopé or Ecobee learns your schedule and reduces heating/cooling when you’re away, cutting utility bills 10–15% annually on average. Installation involves shutting off power at your breaker, removing the old thermostat, and connecting wires to the new one. If your system uses C (common) wire, you’re golden: if not, the thermostat might require an add-on module. This is a 30-minute job if you’re comfortable with low-voltage wiring, or a service call ($150–$300) if you aren’t.
Zigbee sensors (door/window, temperature, humidity, motion) are the cheapest way to add intelligence. A door sensor alerts you when a window opens: a motion sensor triggers lights. They run $10–$25 each, mount with adhesive, and last 2–3 years on a button battery. Batch-buy a few sensors for entry points and high-traffic areas. They’re the foundation of any solid automation, know what’s happening in your home before you react.
Setting Up Your First Zigbee Network
Setting up Zigbee is straightforward once you know the steps. First, choose your hub and place it centrally, kitchen or living room works well. Avoid basements or closets: you want the mesh to radiate evenly. Power it on, install the hub’s app on your phone, and follow the setup wizard. You’ll create an account, secure the hub with a password, and name your Zigbee network.
Next, put your first device in pairing mode. This differs by device, some blink lights, others require a button press for 3 seconds. Consult the manual. Open the app and select “Add Device” or “Pair.” The hub broadcasts a request, and your device listens and joins. This usually takes 10–20 seconds. Once paired, the device appears in your app. Rename it something descriptive (not “Light 1”: call it “Bedroom Overhead”).
Add more devices one at a time, allowing the mesh to stabilize between additions. If a device won’t pair, check battery level and move it closer to the hub: mesh strength grows as you add more repeater devices (like plugged-in lights). After 10–15 devices, your network stabilizes and even distant sensors find the hub through intermediate devices.
Basic safety: keep your hub updated, check for firmware releases monthly. Change the default password immediately. If your hub has a cloud feature, understand what data it sends (some are local-only, which is great for privacy). Test a few automations, light on at sunset, notification when a door opens, to confirm everything works. Don’t wait a month to find out your lock sensor is failing: test early.
Compatibility and Integration Tips
Not all Zigbee devices work with all hubs, this is the biggest gotcha beginners face. Each hub has a compatibility list. Before buying a device, check the manufacturer’s site: “Does this sensor work with Hubitat?” or “Is this bulb compatible with Home Assistant?” Missing this step wastes time and money.
If you want true interoperability, choose a hub that supports the Zigbee 3.0 standard, the open protocol ensuring cross-manufacturer compatibility. Hubitat, Home Assistant, and Gledopto hubs all embrace Zigbee 3.0. Manufacturer-locked hubs (like the original Philips Hue Bridge) require certified devices, limiting your choices. That’s fine if you’re happy with one ecosystem: it’s a trap if you want flexibility.
For integration with voice assistants, confirm your hub bridges to Alexa or Google Home. Not all Zigbee devices report back to the cloud, and not all hubs expose them. This matters if you want to say “Alexa, turn on the bedroom light.” Some hubs require IFTTT (If This Then That) applets to bridge the gap: others do it natively. Spend 10 minutes reading the hub’s documentation before committing.
Another reality check: many Zigbee devices lack local control. If your internet goes down, the hub still works (local mesh), but voice commands and remote access stop. This is acceptable but worth knowing. Finally, watch for vendor lock-in. Some hubs sunset older devices or lock down the platform after purchase. Read reviews on Reddit’s r/smarthome or HomeAutomation forums, real users spot problems fast. A 10-minute deep dive now saves months of frustration.