
A small bathroom doesn’t have to feel cramped or dated. The right tile choice transforms the entire space, making it feel larger, brighter, and more intentional. Small bathroom tile design is about more than just picking a pretty pattern, it’s about understanding how size, color, and placement actually affect how a room feels. Whether you’re working with a 5-by-8-foot powder room or a modest master bath, strategic tile selection can make a real difference. This guide walks you through the practical decisions that turn a tight bathroom into a smart, functional, and stylish retreat.
Table of Contents
ToggleKey Takeaways
- Large-format tiles (12×24 inches or larger) are the best choice for small bathroom tile design, as they minimize grout lines and create a cohesive, less cramped appearance.
- Light, neutral colors like soft whites, pale grays, and warm creams expand perceived space by reflecting light, while dark or busy patterns should be confined to accent walls only.
- Porcelain tiles deliver superior durability and moisture resistance in small bathrooms at a fraction of the cost of natural stone, making them the smartest material choice.
- Proper substrate preparation and waterproofing are critical investments that prevent costly water damage, especially in compact bathrooms where moisture has nowhere to escape.
- Vertical tile layouts and floor-to-ceiling tiling on focal walls (like around the shower or vanity) visually stretch the space and make the room feel intentional rather than cramped.
- Strategic layering—investing in quality flooring and shower wall tiles while using affordable options on secondary surfaces—delivers luxury aesthetics on a realistic budget.
Why Tile Choice Matters in Small Bathrooms
Tile doesn’t just cover walls and floors, it defines the space visually and functionally. In small bathrooms, every decision ripples across the entire room. The right tile selection maximizes perceived space, handles moisture effectively, and sets the tone for your whole design.
Small spaces benefit from tiles that reflect light and create visual continuity. Reflective glazes, light colors, and seamless grout lines all trick the eye into perceiving more square footage than actually exists. Meanwhile, poor tile choices, busy patterns, dark colors, small fragmented layouts, can make a tight bathroom feel even more suffocating.
Durability matters just as much as aesthetics. Bathrooms demand moisture-resistant materials that won’t crack, warp, or grow mold over time. Porcelain and ceramic tiles handle humidity far better than natural stone in most climates. Proper substrate preparation, waterproofing, and grout selection prevent costly water damage that’s especially problematic in small, confined spaces where moisture has nowhere to escape.
Tile also affects maintenance. A small bathroom with high-contrast grout lines or busy texture patterns demands constant cleaning and shows every water spot. Larger tiles with minimal grout joints keep the space feeling clean and calm with less ongoing work. That’s not just about aesthetics, it’s practical living.
Best Tile Sizes for Small Bathrooms
Large Format Tiles vs. Small Tiles
Tile size fundamentally changes how a small bathroom reads. This isn’t opinion, it’s visual psychology and practical finishing.
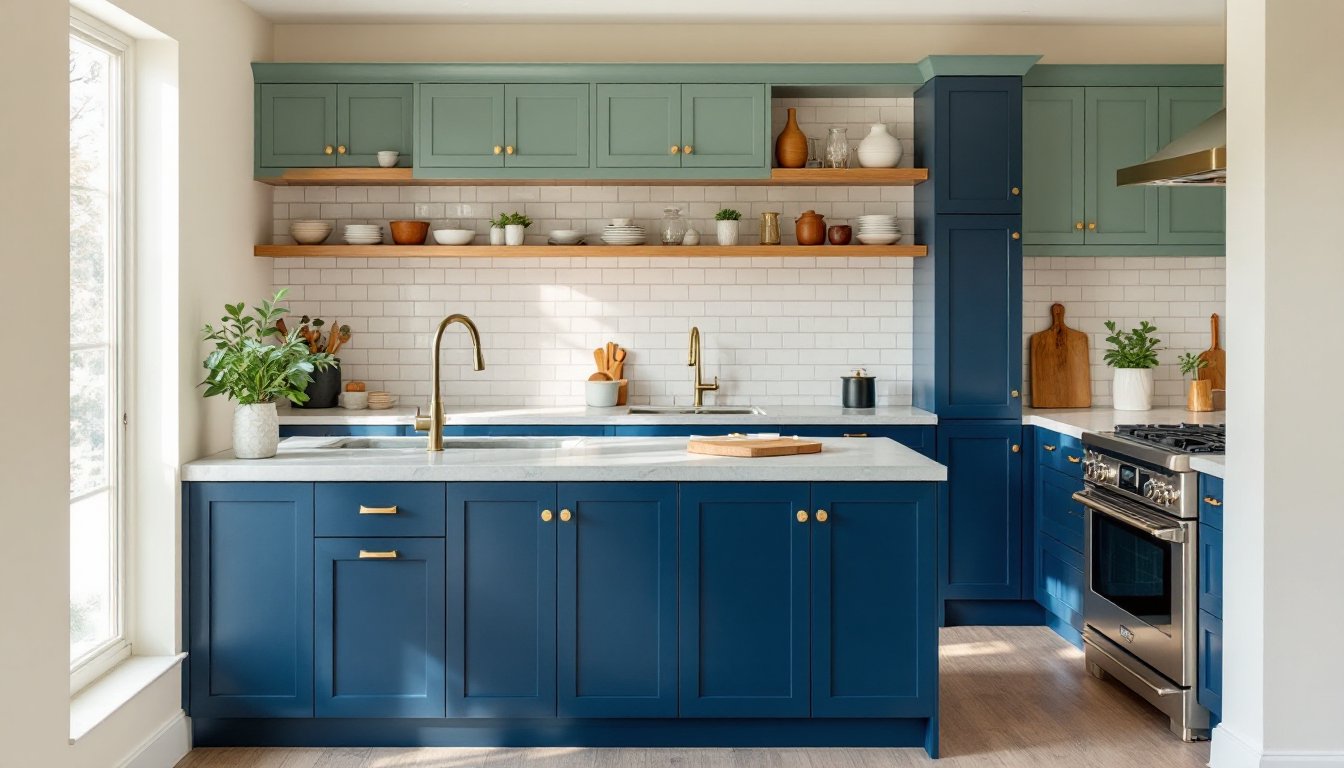
Large format tiles (12×24 inches, 18×36 inches, or even 24×48 inches) are the gold standard for small spaces. Fewer grout lines mean fewer visual interruptions, which makes the room feel broader and less compartmentalized. A wall covered in 24×24-inch tiles reads as one cohesive surface rather than a patchwork. Large-format porcelain tiles also require less layout complexity. You’re not constantly cutting and adjusting around fixtures. Installation is faster, and fewer seams mean fewer places for water to creep behind the tile.
Small tiles (4×4 inches, 6×6 inches, subway 3×6) used to be the default, but they actually work against small-space design. They fragment the visual field. Every grout line creates a border that your eye registers separately. In a tiny room, this creates visual noise. Small mosaics work in specific accent roles, a feature wall or border, but as primary coverage, they shrink the perceived space.
Subway tile (3×6 inches) has made a comeback, and it’s fine if laid with thin grout lines and neutral mortar, but it’s not the most efficient choice for maximizing perceived square footage. If you love the subway aesthetic, use it as an accent rather than covering all four walls.
For floors, 12×12-inch tiles or larger are safer than tiny formats. Large format reduces trip hazards, is easier to clean, and transitions better between the shower and the rest of the bathroom. Porcelain is non-negotiable for bathroom floors, it’s waterproof and durable under constant moisture and foot traffic.
Color and Pattern Strategies to Maximize Space
Color and pattern are where most small-bathroom mistakes happen. Bold, saturated, or high-contrast designs feel energetic in a showroom but claustrophobic in a 5×8 room.
Light, neutral tones (soft whites, pale grays, warm creams, light taupe) expand perceived space. They reflect available light and don’t compete for attention. This doesn’t mean sterile, warm whites with undertones, textured finishes, or subtle veining add personality without overwhelming the space. Pale blue-grays work well if you prefer a cooler palette: they feel fresh without darkening the room.
Accent walls are a tool, not a requirement. If you use darker tile, pattern, or texture, confine it to one wall, ideally above the vanity or behind the toilet. This anchors the design without boxing in the rest of the bathroom. A dark accent wall in a small space works only if the surrounding surfaces remain light and clean.
Pattern, like small tile, fragments visual space. Geometric patterns, busy mosaics, and high-contrast designs are fun but work best as borders or small features. All-over pattern in a 5×8 bathroom will make you feel like you’re standing inside a decorated box. If you want visual interest, texture (a slightly raised tile surface, a matte vs. gloss mix, or subtle veining) provides it without the spatial cost.
White or near-white grout reinforces light, unified surfaces. Dark grout lines (especially with light tile) create visual grid lines that actually make small spaces feel smaller. Gray or mid-tone grout is a compromise if pure white feels too clinical, but stay lighter rather than darker. Surfaces like Statement Tile Designs: Transform can work in small bathrooms if treated as intentional, localized focal points rather than all-over coverage.
Layout and Placement Techniques
Vertical Tiling and Accent Walls
How you lay tile changes the room’s proportions. Horizontal orientation makes spaces feel wider: vertical orientation makes them feel taller. In a small bathroom with standard 8-foot ceilings, vertical layouts can visually stretch the height, which makes the room feel less boxy.
Running bond (the classic brick pattern, where grout lines offset) works in any direction. Vertically offset running bond draws the eye upward and works well on shower walls. Horizontally offset running bond (which is more common) emphasizes width, useful if you have a particularly narrow bathroom.
Floor-to-ceiling tiling on one or two walls (especially around the shower or vanity) creates a focal point and makes the space feel intentional rather than cramped. Stopping tile halfway up the wall, by contrast, chops the visual space and reads as dated. If you’re tiling only part of the wall, go at least two-thirds of the way up, ideally to the ceiling in a small room.
Accent walls in pattern, color, or texture work as a design anchor. Place them where your eye naturally lands: behind the vanity (above the sink) or in the shower enclosure. Surrounding walls should remain light and simple to keep the room from feeling enclosed. A patterned or darker accent wall is a commitment, choose something you won’t tire of in three years.
Shelving niches tiled into the shower wall (with waterproofed edges and proper slope for drainage) add storage without eating floor space. Keep them minimal, one or two recesses, so they don’t interrupt the visual flow.
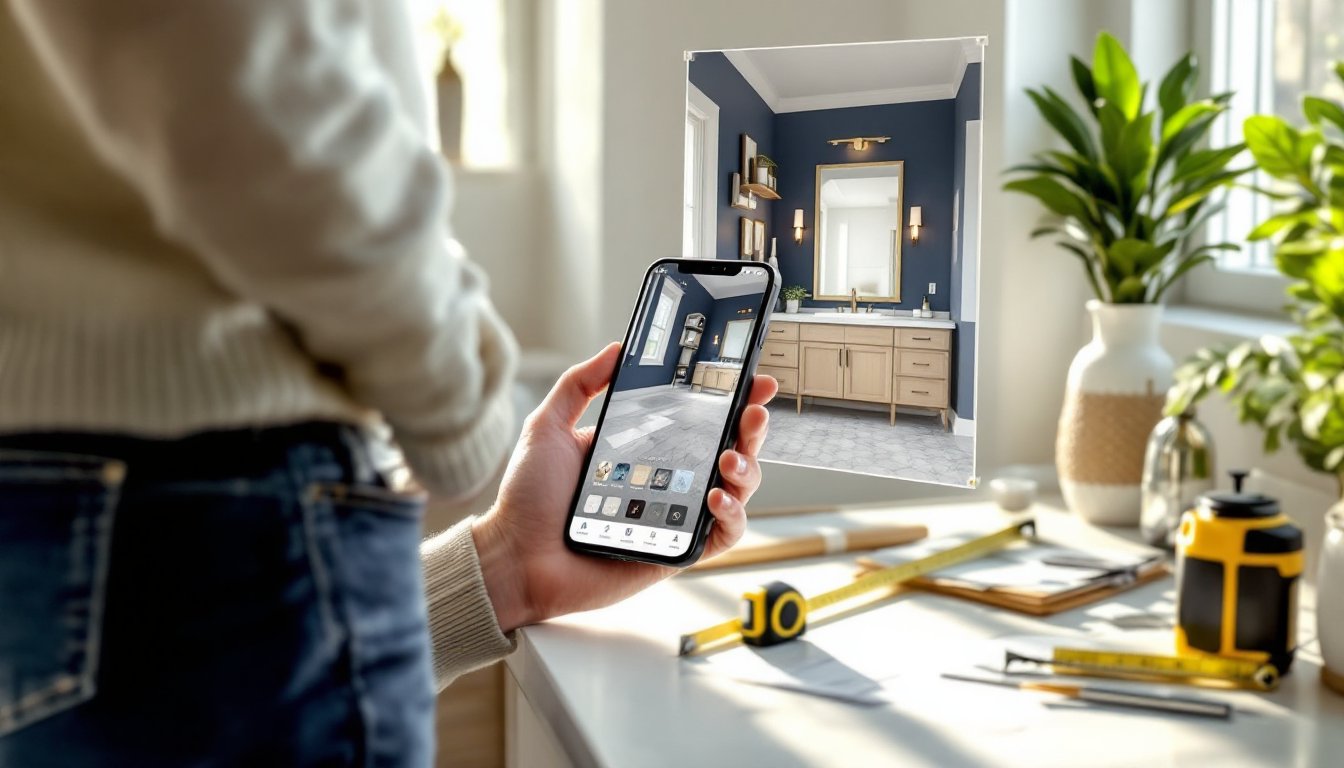
Many homeowners discover inspiration through HGTV home design shows or Houzz renovation galleries before tackling their own layouts. These platforms show tile placement in real spaces, not just product photos. Websites like Remodelista’s design guides also curate bathroom remodel approaches worth studying before you commit to a layout.
Budget-Friendly Tile Selection Tips
Quality tile doesn’t require a luxury budget. Smart choices let you invest in durability where it matters most while saving elsewhere.
Porcelain over marble: Porcelain tile mimics natural stone aesthetics, marble look-alikes, granite patterns, limestone finishes, at a fraction of the cost and with superior water resistance. A small bathroom is the ideal place to use porcelain tile that looks like something expensive, because you’re covering less square footage overall. A 5×8 bathroom needs roughly 150–200 square feet of material (walls and floor combined), so quality tile is more affordable than you might think.
Budget strategically: Spend more on floor tile (it sees constant use) and the main wall in your shower. Use simpler, more affordable tile on secondary walls or as borders. A high-end tile as a shower focal point surrounded by affordable, neutral tile looks intentional, not budget-compromised.
Bulk discounts matter: Buying slightly more tile than needed (10–15% overage for cuts, future repairs, and natural variation) is cheaper in bulk. Check per-square-foot pricing, not per-box pricing, boxes vary in size. Sample small areas before committing: tile color and finish vary under different lighting.
Labor is the hidden cost: If you’re hiring a professional, tile size, pattern complexity, and substrate condition affect labor costs far more than material. Simpler layouts (large tiles, straight cuts, minimal pattern work) finish faster and cost less to install. DIY-friendly layouts use larger tiles, standard grout, and straightforward placement, no intricate mosaics or complex angles unless you have real tile-setting experience.
Prep work saves money: A poorly prepared substrate (uneven walls, improper waterproofing, inadequate mortar coverage) leads to cracked tile, mold, and costly repairs. Spend time and modest money on correct substrate preparation, cement backer board in wet areas, proper waterproofing membrane, level surfaces, rather than cutting corners and facing water damage later.
Grout choices: Unsanded grout works in tight grout lines (under 1/8 inch): sanded grout fills wider joints and is generally more economical. Epoxy grout resists staining but costs more and requires skill to apply cleanly. For a small bathroom with light-colored standard grout, a high-quality urethane or hybrid grout offers durability without epoxy’s learning curve.