Designing a bathroom layout is one of those DIY projects that looks deceptively simple until you realize that one wrong fixture placement can compromise functionality for years. Whether you’re planning a full remodel or reimagining your existing space, a thoughtful bathroom layout balances three competing demands: accessible plumbing, efficient movement, and smart storage. The good news? You don’t need an architect. With a clear understanding of your space, some deliberate planning, and knowledge of how pros arrange bathroom zones, you can create a layout that works harder and feels more spacious, even in tight quarters.
Table of Contents
ToggleKey Takeaways
- Designing a bathroom layout requires careful measurement of your space, plumbing locations, and existing fixtures to create a realistic floor plan before breaking ground.
- Professional bathroom designers organize spaces into three zones—wet areas (toilet, sink, shower), utility areas (storage and ventilation), and traffic paths—to maximize functionality and flow.
- Keeping plumbing runs short and grouping wet areas together reduces installation costs and complexity while minimizing future repair problems in your bathroom layout.
- Choose the right layout style for your space—galley, L-shaped, compartmentalized, or master bath—to balance accessibility, visual comfort, and efficient movement patterns.
- Establish your budget early and hire licensed plumbers for fixture relocations and ventilation changes, as these involve structural work and often require permits.
- Use vertical storage like floating vanities, wall-mounted shelving, and tall cabinets instead of floor-based furniture to make even small bathrooms feel more spacious and functional.
Assess Your Space And Establish A Layout Budget
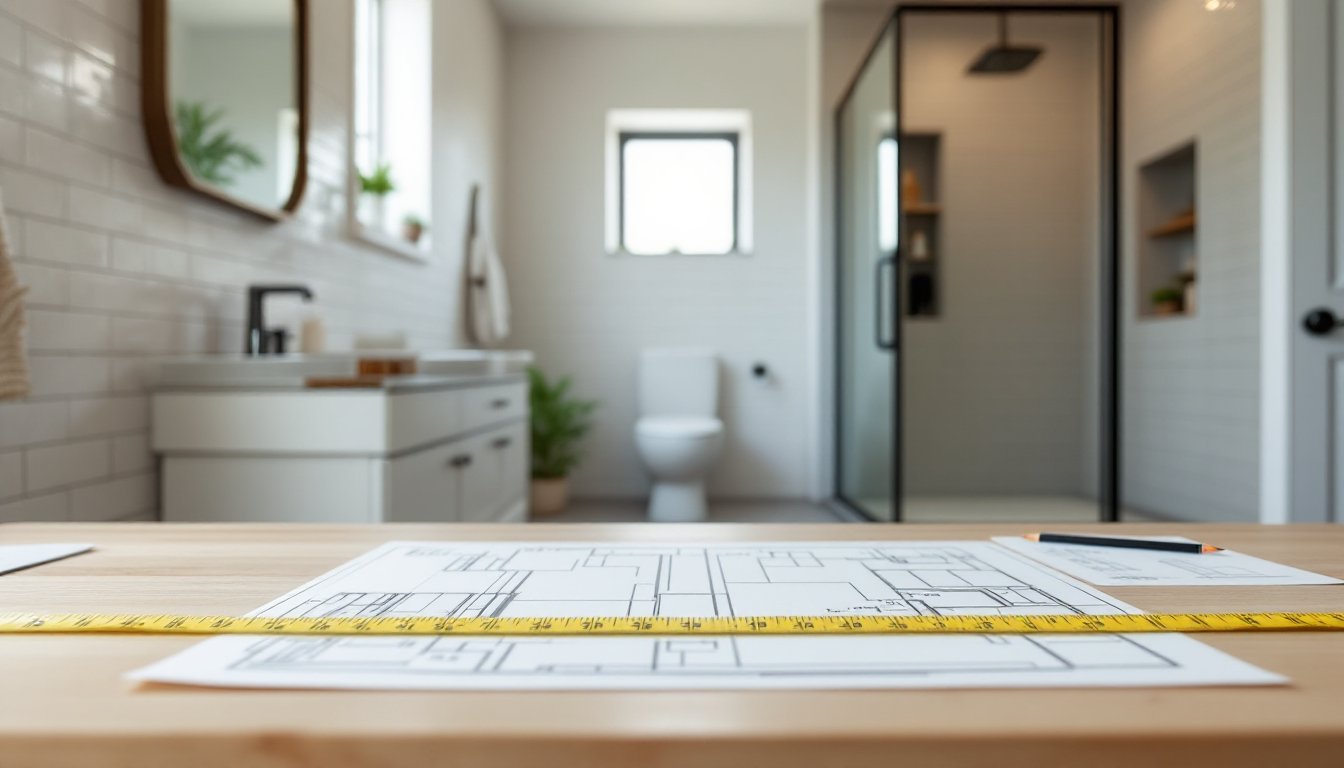
Start by measuring your bathroom carefully. Use a tape measure to record the length, width, and ceiling height in feet and inches, don’t rely on memory or the original construction documents. Note the locations of existing plumbing vents, water lines, electrical outlets, and windows. Take photos of the walls and doorways, including which way the door swings.
Next, sketch a simple floor plan on graph paper (one square = one foot works well) or use free online tools if you prefer digital. Mark all fixed elements: the door, any load-bearing walls, existing windows, and plumbing locations. This becomes your baseline, it shows which fixtures you can realistically move and which ones stay put.
Establish a realistic budget early. Full bathroom layouts involving new plumbing runs are structurally intensive. If moving the toilet, sink, or shower means rerouting drain lines or supply pipes, you’ll likely need a licensed plumber, this is not a cosmetic DIY job. Similarly, ventilation changes (relocating ductwork) often require permits. Be honest about what you’re tackling yourself and where professionals make sense. A ballpark estimate should account for materials, potential permits, and hired labor before you finalize your design.
Master The Three Key Bathroom Zones
Professional bathroom designers think in zones, not just individual fixtures. This mental model helps you see the bathroom as a flow system rather than a scattered collection of items.
The Wet Zone: Toilet, Sink, and Shower Placement
The wet zone houses the toilet, vanity sink, and shower or tub. Plumbing codes require adequate clearance around each fixture, typically a minimum of 15 inches from the centerline of the toilet to any wall or adjacent fixture, though check your local building codes (IRC standards vary by jurisdiction). A vanity sink needs about 30 inches of clear space in front, and a shower enclosure needs roughly 30×36 inches minimum for comfort and safety.
Position your toilet away from the entry if possible: this is a visual and psychological thing. A toilet visible through the open bathroom door feels cramped. Conversely, placing the toilet on the wall opposite the door or around a corner keeps it discreet. For showers, corner placement often saves floor space, though you’ll need to ensure your drain location and plumbing can support it without creating vent stack conflicts.
Vanity placement matters too. A pedestal sink saves visual and physical space, while a floating vanity offers under-sink storage and keeps floors easier to clean. Double sinks require roughly 48–60 inches of wall space: a single sink needs about 30 inches.
The Utility Zone: Storage and Ventilation
Your utility zone covers storage cabinets, shelving, and the exhaust fan ductwork. Linen closets or wall-mounted cabinets should be placed conveniently, usually within arm’s reach of the toilet or near the shower. Recessed niches in shower walls or wall-mounted shelving above the toilet are space-efficient if your walls accommodate them.
Ventilation is non-negotiable for moisture control and mold prevention. A properly sized exhaust fan (typically 50–100 CFM depending on bathroom size: calculate as room square footage × 1.07 for standard ventilation) must run for at least 20 minutes after showers. Duct it to the exterior, never into an attic. If moving the exhaust fan during your layout redesign, plan for a new or relocated ductwork run, this often requires opening walls and checking for obstructions.
Apply The Golden Rules Of Bathroom Layout Design
Bathroom designers rely on a few rules that work across nearly all spaces:
1. Keep plumbing runs short. The longer a water line or drain line travels, the more expensive and complex the installation. If your existing plumbing is on one wall, try to keep new fixtures close to that wall. Moving plumbing across the room adds cost, requires cutting joists or studs (potentially weakening structure), and complicates future repairs.
2. Maintain a clear traffic path. A bathroom needs a route from the door to the toilet and sink without obstacles. In small bathrooms, this path is tight, you might only have 24–30 inches of working width. Avoid placing the vanity directly opposite the door if you can: angle it slightly or put a smaller sink along a side wall to keep the sightline and traffic flow open.
3. Group wet areas together. Shower, tub, and sink drain lines can share larger waste lines if positioned near each other. Spreading them out forces longer vent stacks and drain runs, more labor, more materials, more failure points.
4. Ensure adequate door swing and maneuvering space. A standard bathroom door swings inward 90 degrees. Check that it doesn’t collide with the toilet, vanity, or shower door. In narrow bathrooms, a pocket door or outswing door sometimes solves this. If someone in your household uses a wheelchair or walker, maintain at least a 60-inch turning radius, this significantly affects layout choices.
5. Use wall space, not floor space. Floating vanities, wall-mounted towel racks, shelving, and tall narrow cabinets preserve precious floor area. In a 5×8 bathroom, this difference between crowded and functional is often just thoughtful vertical storage.
Choose The Right Bathroom Layout Style For Your Space
Different footprints call for different approaches. Here are the most common layouts:
Galley Layout (Narrow & Long)
Two walls run parallel, with fixtures on each side. This works well for rectangular bathrooms. Place the toilet and vanity on one wall, the shower on the opposite wall. Traffic flows straight down the center. It’s efficient but feels tight if the space is under 5 feet wide.
L-Shaped Layout
Two walls form a corner, giving you flexibility. Put the shower in the corner, the toilet on one leg, and the vanity on the other. This breaks up the linear feel and can make a modest space feel larger because the eye doesn’t travel one long line.
Compartmentalized Layout
More common in larger homes, this divides wet and dry zones with partitions. The toilet sits behind a door or wall (the “water closet”), while the sink area is separate. This design is excellent if multiple people use the bathroom simultaneously, but requires extra wall framing and a larger footprint.
Master Bath Layout (Larger Spaces)
Double vanities, separate water closet, and spa-like shower-tub combinations are possible here. The challenge is avoiding wasted dead space. Even a 10×12 master bath can feel cramped if fixtures aren’t aligned thoughtfully. Design inspiration from resources like Houzz and Remodelista can show how pros handle larger bathrooms, giving you a visual reference for your own layout decisions.
Plan Your Fixtures And Finishes With Layout In Mind
Once your basic layout is solid, fixture selection reinforces it. A wall-mounted toilet and wall-hung vanity make the space feel larger because they expose floor area. Frameless glass shower enclosures keep sightlines open, whereas a tiled shower surround with a curtain rod can feel heavy in a small footprint.
Consider the sink shape too. A round pedestal takes up less visual bulk than a sprawling double vanity, but stores nothing. A compact 24-inch floating vanity with one sink or a corner wall-mount hits the middle ground.
Shower and tub dimensions matter more than many people realize. A standard shower enclosure is 36×36 inches: a corner unit might be 30×30 inches (tight but doable). A freestanding tub adds luxury but eats 5×3 feet of space minimum. If you’re choosing between a tub and shower in a small bathroom, a shower-tub combo (a shallow tub with a showerhead and surround) is the practical compromise.
Finishes like mirrors, lighting, and color should open the space visually. A large mirror across from a window bounces light and makes the room feel deeper. Light-colored wall tiles and flooring reflect light: dark grout in a small bathroom reads as claustrophobic. Recessed or wall-sconce lighting eliminates harsh shadows that make cramped spaces feel smaller. Explore design shows like HGTV for finished examples, but remember that TV bathrooms often have generous square footage working in their favor, scale your expectations to your actual footprint.