If you’re serious about automating your home, you’ve probably heard whispers about a smart home panel 2, a central hub that replaces the old electrical panel while giving you real-time control over circuits, loads, and connected devices. Unlike scattering smart gadgets around your house and hoping they talk to each other, a unified panel puts everything under one roof (literally). This guide walks you through what a smart home panel 2 actually does, whether it’s worth the investment, and how to set one up if you’re ready to upgrade.
Table of Contents
ToggleKey Takeaways
- A smart home panel 2 replaces your traditional breaker box with an intelligent electrical hub that monitors individual circuits in real time and integrates with home automation systems like Apple Home, Google Home, and Alexa.
- Real-time energy monitoring through a smart home panel 2 helps homeowners identify power-consuming devices and reduce electricity costs by automating load-shedding, preventing demand charges, and optimizing peak-usage periods.
- Installation requires a licensed electrician and typically takes 4–8 hours, along with proper permits and inspections, while homeowners can handle Wi-Fi setup, app configuration, and creating automation rules after installation.
- Smart home panel 2 automation rules enable circuit-level control such as scheduling HVAC reductions based on solar production, coordinating EV charging during off-peak hours, and remotely disabling circuits for safety—preventing situations where multiple high-power devices simultaneously trip the main breaker.
- Successful integration involves setting up a stable Wi-Fi connection (using mesh systems if needed), securing your account with two-factor authentication, labeling circuits logically, and testing automation rules before deploying complex configurations.
What Is a Smart Home Panel 2?
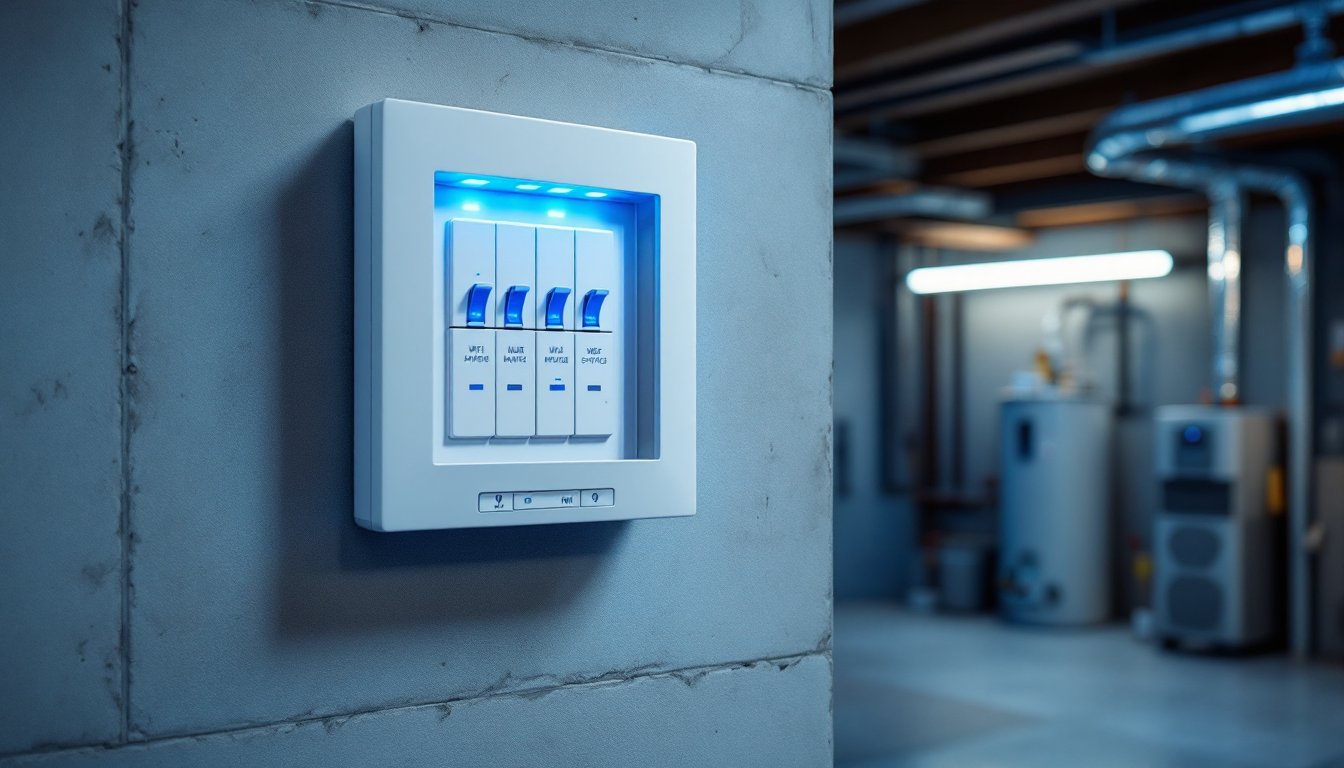
A smart home panel 2 is an intelligent electrical panel that replaces or integrates with your traditional breaker box. Unlike a passive panel that just distributes power, a smart panel monitors individual circuits in real time and communicates with your home automation system. The most recognized example is the Leviton Smart Home Panel 2, which combines circuit-level intelligence with app-based control.
Here’s what sets it apart: instead of flipping manual breakers, you can monitor power consumption per circuit, set schedules, respond to alerts, and automate disconnections when needed. It’s the brains of your electrical system. According to comprehensive reviews of this technology, the panel tracks voltage, current, and power factor, data that helps you spot energy vampires instantly.
Installation is not a weekend DIY job for most homeowners. It requires a licensed electrician because you’re working inside your main electrical service. Some jurisdictions demand permits and inspections. That said, understanding what happens after installation is where DIY tweaking begins.
Key Features and Benefits of Smart Home Panel 2
Centralized Control and Automation
Instead of managing dozens of individual smart plugs or relays, a smart home panel 2 gives you circuit-level control at your fingertips. Every breaker becomes smart. You can create schedules (turn off garage circuits at night, boost kitchen power during meal prep), set load-shedding rules during peak demand, or receive alerts if a circuit draws unusual current.
Integration with voice assistants and home automation platforms is built in. Most smart panels work with ecosystems like Apple Home, Google Home, and Alexa. A homeowner can ask their assistant to “turn off the workshop” and every breaker on that circuit cuts power remotely. This isn’t just convenience, it’s also a safety net. You can disable circuits remotely if you forget to turn off a tool or suspect an electrical issue.
Automation rules are where the real power shows up. Set a rule that automatically reduces HVAC demand when solar production drops, or bump up EV charging during off-peak hours. The detailed technical reviews show how these rules integrate with demand-response programs that some utilities offer, potentially lowering your electricity bill.
Energy Monitoring and Efficiency
Real-time energy data is the second pillar of a smart home panel 2. Instead of checking a utility bill weeks later, you see exactly which circuits are drawing power right now. Kitchen outlets, HVAC, water heater, EV charger, all tracked separately.
This visibility pays dividends. A homeowner might discover that an old refrigerator left in the basement is consuming 3 kWh per day, about $30 a month. Another notices a pool pump running 24/7 when it should be on a timer. These are the energy leaks most people never see until they check a smart panel. Some models allow you to set consumption alerts and automate load shedding to avoid demand charges, especially valuable for commercial or larger residential accounts.
For homes with solar, battery storage, or EV chargers, a smart panel is nearly essential. It orchestrates which device charges when, preventing scenarios where your charger, water heater, and dryer all fire up simultaneously and trip the main breaker. That’s where demand management rules save both money and frustration.
Installation Basics for DIY Homeowners
Let’s be direct: you won’t install the panel itself. Swapping a main electrical panel involves de-energizing your entire house, correctly bonding and grounding new hardware, and meeting local electrical codes. This is licensed-electrician territory. If code violations are discovered later, whether by a home inspector or during an insurance claim, you’re liable.
What you can do:
-
Hire a licensed electrician who has installed smart panels before. Ask specifically if they’re certified for the model you want (Leviton, Eaton, Enphase, etc.). The installation typically takes 4–8 hours, depending on your panel’s age and complexity.
-
Get permits beforehand. Most jurisdictions require permits for electrical service upgrades. Your electrician should handle this, but confirm they do. Costs typically range from $100–$500 depending on your location.
-
Prepare access. Ensure your electrician can reach the panel safely. Clear clutter, remove any obstacles, and inform them of any hazards (water heater nearby, tight spaces, etc.).
-
Plan for a power outage. Installation means your entire house is without power for the duration. Arrange to be elsewhere or prepare accordingly (don’t freeze food, charge devices beforehand).
-
Update your home’s documentation. After installation, ask the electrician for photos, a labeling diagram, and a copy of the inspection report. Keep this with your home’s records.
The smart panel itself arrives ready to configure, but configuration, linking it to your Wi-Fi, pairing it with your phone app, setting automation rules, that’s where the DIY begins.
Integrating Smart Home Panel 2 With Your Existing Systems
Once the electrician finishes and the panel is live, you’ll connect it to your home network. This involves:
Network setup: Most smart panels use Wi-Fi or hardwired ethernet. If your panel is in a garage or basement away from your router, a mesh Wi-Fi system or a dedicated access point near the panel helps stability. Don’t skimp here, dropped connections mean missed alerts and failed automations.
App and account creation: Download the manufacturer’s app (Leviton, Eaton, etc.), create your account, and add your panel. Secure your password and enable two-factor authentication. You’re protecting your home’s electrical system: treat login credentials seriously.
Integration with home automation: If you use smart home device setup platforms, add your panel as a new device or hub. Most smart panels expose themselves as HomeKit, SmartThings, or Alexa devices. Follow the app’s pairing wizard, it’s usually straightforward.
Linking circuits to devices: Some smart panels let you assign circuits to rooms or devices. Label “Kitchen Outlets” instead of “Breaker 12.” This makes automations more readable and reduces mistakes when you’re making rules at 11 p.m.
Testing automations: Start small. Create a simple rule (e.g., turn off workshop circuits at 9 PM) and verify it fires as expected. Once you’re confident, add more complex rules like EV charging schedules or solar load-shifting.
Integration with home assistant integration platforms is also possible if you run Home Assistant or similar open-source systems. Many installers offer advanced integrations that let you tie the panel to solar production, weather forecasts, or utility pricing signals.
Troubleshooting Common Issues
Panel won’t connect to Wi-Fi: Verify your SSID and password are correct. If it still won’t connect, move closer to the router temporarily to test, then install a mesh node or access point closer to the panel for permanent stability. Some models have Bluetooth setup as a fallback, check the manual.
App shows offline: Check that the Wi-Fi is still connected (not just a first-time pairing). Restart the panel’s Wi-Fi module (usually a button on the front or a power cycle). If the issue persists, contact support: it may indicate a firmware update is needed.
Automation rules aren’t firing: Verify the rule’s conditions. A “turn off circuits at 9 PM” rule won’t trigger if your panel’s internal clock is wrong. Check the settings and resync time if necessary. Also confirm the circuits you selected are the ones you intended, misclicks happen.
High energy readings that seem wrong: Smart panels measure real power, so a toaster and a heater might both read higher than you expect. If readings are wildly off (negative power, impossible values), contact your electrician: it may indicate a wiring issue.
Lost data or unable to access historical logs: Most panels store weeks or months of data locally. If you’re missing older data, check the app’s log settings, you may need to enable cloud sync in preferences. Some tiers require a paid subscription for extended history.
Can’t control a specific circuit: Ensure the breaker hasn’t been manually switched off in the panel. Some smart panels have a physical override, check that it’s in the “smart” position, not “manual.” If it’s already there, power-cycle the panel and try again.